How to set up a Wi-Fi router for maximum speed and security
Setting up your new Wi-Fi router? Improper setup can impact your wireless network’s performance and leave you vulnerable to hackers or squatters. Learn how to set up a Wi-Fi router securely with our guide. Then, get Norton 360 Deluxe to help keep your internet browsing private and access the content you love.


- Step 1: Check you have what you need
- Step 2: Position the wireless router
- Step 3: Connect the router
- Step 4: Connect your device to the router
- Step 5: Configure the router
- Step 6: Set up a username and password
- Step 7: Enable security settings
- Step 8: Update firmware
- Step 9: Connect devices and test
- Tips for making your router secure
- Secure your wireless devices with Norton
- FAQs
A Wi-Fi router is the main hub for your home network and lets you connect devices to the internet wirelessly, but it can also open the door to risks from hackers, scammers, and identity thieves.
If you don't secure your Wi-Fi network properly, anyone with a wireless-enabled device, including cybercriminals, could gain access, potentially stealing personal information or installing malware on connected phones or computers.
Here’s a simple guide to help you set up a Wi-Fi router securely.
Step 1: Check you have what you need
Before starting, unbox the router and check that you have everything you need for set-up. Here are the core components required to set up a wireless network:
- Router: The main device that sends internet signals to your other devices.
- Power adapter: The cord needed to connect the router to the wall outlet.
- Ethernet cable: The cable used to connect the router to a modem (if it’s separate) or a wall outlet.
Once you’re ready, you can start setting up your router. Many routers come with straightforward instructions or an app that simplifies the process, but the key steps are largely the same regardless of what router you have.
Step 2: Position the wireless router
The first step after unboxing is deciding where to place the router. If you use wireless devices throughout your home, try to find a central, unobstructed location to ensure a strong and consistent signal in every room. If most of your wireless devices are centralized in one room, it’s preferable to keep the router nearby.
It’s also helpful to elevate the router at least a few feet off the ground, on a shelf or desk, for example, to help extend the Wi-Fi range.
Here’s a summary of how each placement factor affects your wireless network’s performance:
| Placement | Reason |
| Central location | Maximizes Wi-Fi signal consistency throughout your home |
| Elevated off the floor | Improves signal strength and helps avoid obstructions |
| Away from obstructions | Reduces signal interference from walls or other structures |
| Avoid nearby electronics | Minimizes signal interference from microwaves and TVs |
- PlacementReason
- Central locationMaximizes Wi-Fi signal consistency throughout your home
- Elevated off the floorImproves signal strength and helps avoid obstructions
- Away from obstructionsReduces signal interference from walls or other structures
- Avoid nearby electronicsMinimizes signal interference from microwaves and TVs
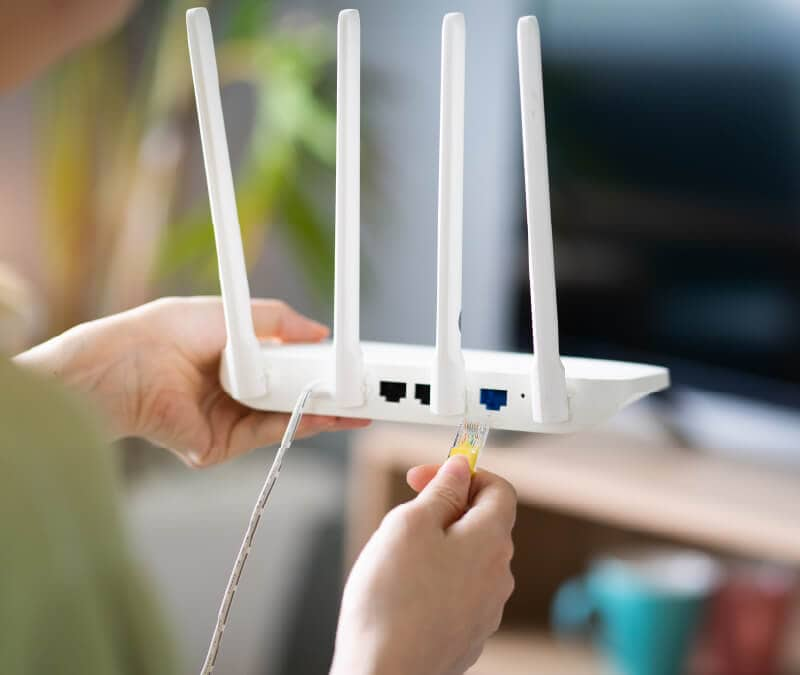
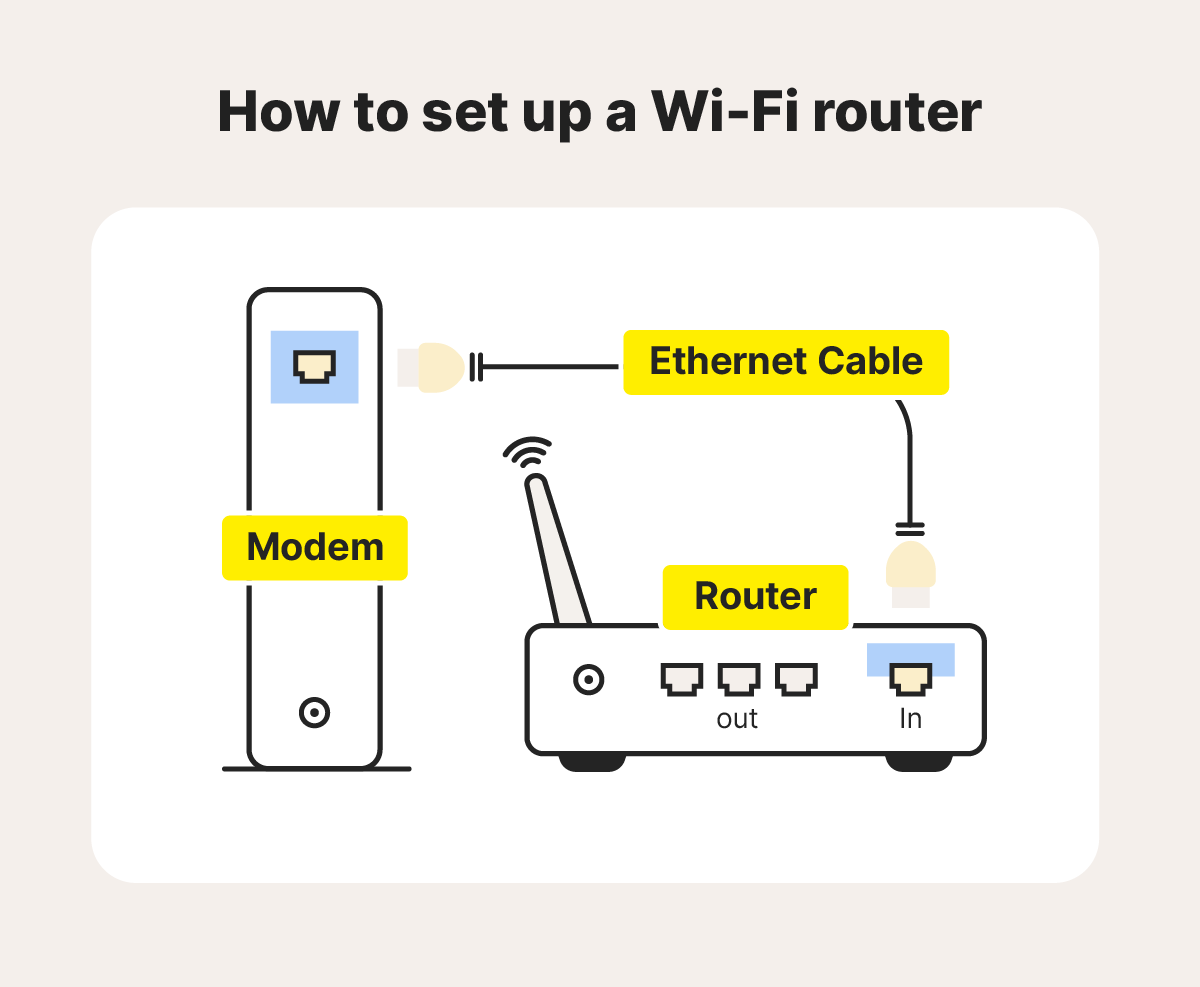
Step 3: Connect the router
Routers require two inputs: one for power and one for internet access. Plug the router into an electrical outlet to cover the first. What to do for the second depends on what type of router you have.
Some routers connect to a separate modem while others, called gateways, have the modem built-in.
Regardless of which router type you have, use an Ethernet cable to connect it to the internet source. Plug one end of the cable into the port on the router labeled WAN, Internet, or Uplink and the other end into the corresponding port on the separate modem or an ethernet wall outlet.
Make sure the cables are secured tightly and the internet source is turned on and functioning properly. Once the router establishes the connection, it may indicate success with an LED light or color change. Check your router’s instructions to confirm how it signals a successful internet connection.
Step 4: Connect your device to the router
After you’ve connected the router to the internet source, test it’s working by connecting a wireless device. Open your device’s Wi-Fi settings, select the router’s network name, and enter the network security key, usually printed on the back or bottom of the router.
Step 5: Configure the router
Now you can begin configuration for optimal performance and security, using the instructions included with your router. There are two main options for router configuration:
- Enter your IP address into your web browser to access network settings.
- Use a smartphone app provided by your internet service provider (ISP).
There are a number of settings you can configure depending on your needs. Quality of Service (QoS) settings allow you to prioritize bandwidth for specific apps or devices, helping you tailor performance for your gaming console, for example.
DHCP (Dynamic Host Configuration Protocol) allows the router to automatically assign IP addresses to devices on your network, making sure that each connected device has a unique address.
Step 6: Set up a username and password
You can also use the configuration settings to change the router password and network name. Choose a name that can’t be associated with you, avoiding things like your house number. To create a secure password, avoid easy to guess words or phrases in favor of longer, more complex passphrases.
Step 7: Enable security settings
Enabling certain settings and choosing an encryption type allows you to configure your network’s security. Depending on your router, you might be able to choose from several encryption options. The most common router encryption types are WEP, WPA, WPA2, and WPA3:
- Wired Equivalent Privacy (WEP) is the oldest and least secure encryption protocol. It uses radio waves that are easy to crack and is no longer recommended to use.
- Wi-Fi Protected Access (WPA) was introduced to offer an encryption protocol without the shortcomings of WEP. While it scrambles the encryption key, it is still a less secure form of encryption than modern standards and isn’t recommended.
- Wi-Fi Protected Access 2 (WPA2) is currently the most widely used form of encryption. It scrambles the encryption key and uses Advanced Encryption Standard (AES), a highly secure encryption method used in WPA2 and WPA3.
- Wi-Fi Protected Access 3 (WPA3) is the latest security standard created by the Wi-Fi Alliance. It is designed to replace WPA2 and improve protection against new cybersecurity threats.
Step 8: Update firmware
Updating your router’s firmware is another important security measure to help protect against the latest threats. Regularly updating the firmware ensures your router stays secure and maintains optimal performance.
Many modern routers offer the option to enable notifications that alert you when new patches or updates are available. Some manufacturers even push updates automatically, so no action is needed on your part.
For routers that don't update automatically, you’ll need to check for updates manually through the network settings menu or router app.
Step 9: Connect devices and test
After ensuring your router has the proper encryption and latest firmware, connect your other devices to test the connection at full load. Select your updated network name and use your new password to connect all of your wireless devices to the router. Open your web browser and enter a website name to see if it loads correctly. If you can access the internet, you’re good to go.
Tips for making your router secure
Beyond configuring your router settings and enabling your Wi-Fi network’s security features, there are additional steps you can take to enhance your network security. Here are a few tips:
Set up a guest network
A guest network provides your guests with a unique service set identifier (SSID) and password, keeping them from accessing the primary network you use for your own devices.
This means you don’t have to share your main network password and helps shield your personal devices from any potential threats your guest’s devices might introduce if they’re compromised.
Block risky or unverified services
Disable remote access to your router, such as Universal Plug and Play (UPnP), when you are actively connected to it. UPnP can allow hackers to bypass the firewall to introduce malware and viruses. You may need to run a router virus scan to spot this malicious software.
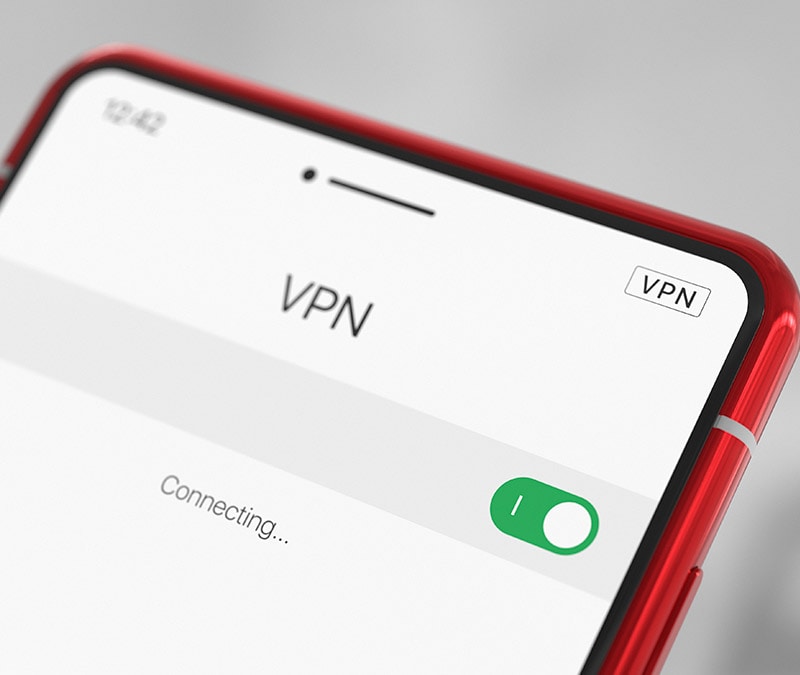
Use a VPN
A VPN encrypts connections between devices, boosting online privacy and anonymity by masking your IP address so your online activity is virtually untraceable. It establishes secure and encrypted connections to provide greater privacy for the data you send and receive, even on unsecured Wi-Fi hotspots.
Use a firewall
A firewall monitors incoming and outgoing network traffic and allows or blocks specific traffic. To keep your Wi-Fi safe, always keep your firewall enabled.
Install strong antivirus and security software
Installing dedicated security apps or programs on each of your wireless devices will help further protect you against hackers and other cyberthreats. Cybercriminals work tirelessly to gain access to your personal and financial information, but security software can help keep your data safer.
Secure your wireless devices with Norton
Knowing how to set up a Wi-Fi router securely will help protect you from neighbours trying to hijack your connection and more threatening risks, like hackers. For added security while using the internet on wireless devices, use Norton 360 Deluxe.
It includes antivirus, anti-malware, and anti-scam protection for up to five devices, including PCs, Macs, tablets, and phones, along with a built-in VPN to strengthen your digital privacy and help you access the content you love.
FAQs
What is the difference between a modem and a router?
A modem connects your home network to your ISP, enabling internet access, while the router distributes the internet signal to the devices in your home.
Do you need a modem and a router?
Yes, you need a modem and a router to connect devices to the internet in your home, but lots of routers come with built-in modems. The modem connects the router to the internet and the router outputs a wireless signal that allows your devices to connect to your network.
What is my IP address for my router?
You can typically find the IP address for your router on the sticker on the back of the router. If it’s not there, you can also find it by checking the network settings on your device.
What does “WPS” mean on a router?
WPS stands for Wi-Fi Protected Setup, a feature that allows all devices in range to connect without entering the router password. Enabling WPS can leave your network more vulnerable to digital threats.
Editors’ note: Our articles offer educational information and are written to raise awareness about important topics in Cyber Safety. Norton products and services may not protect against every type of threat, fraud, or crime we write about. For more details about how we research, write, and review our articles, see our Editorial Policy.


Want more?
Follow us for all the latest news, tips, and updates.